Mastapy 2.x Features
This article is an explanation of the new features in the 2.x versions of mastapy. It boasts vast usability improvements over the old version of mastapy with full intellisense support, Pythonic naming conventions and code style, and much more. These improvements should make using Python with MASTA a more user-friendly experience.
The follow sections detail the improvements in more detail.
Intellisense Support
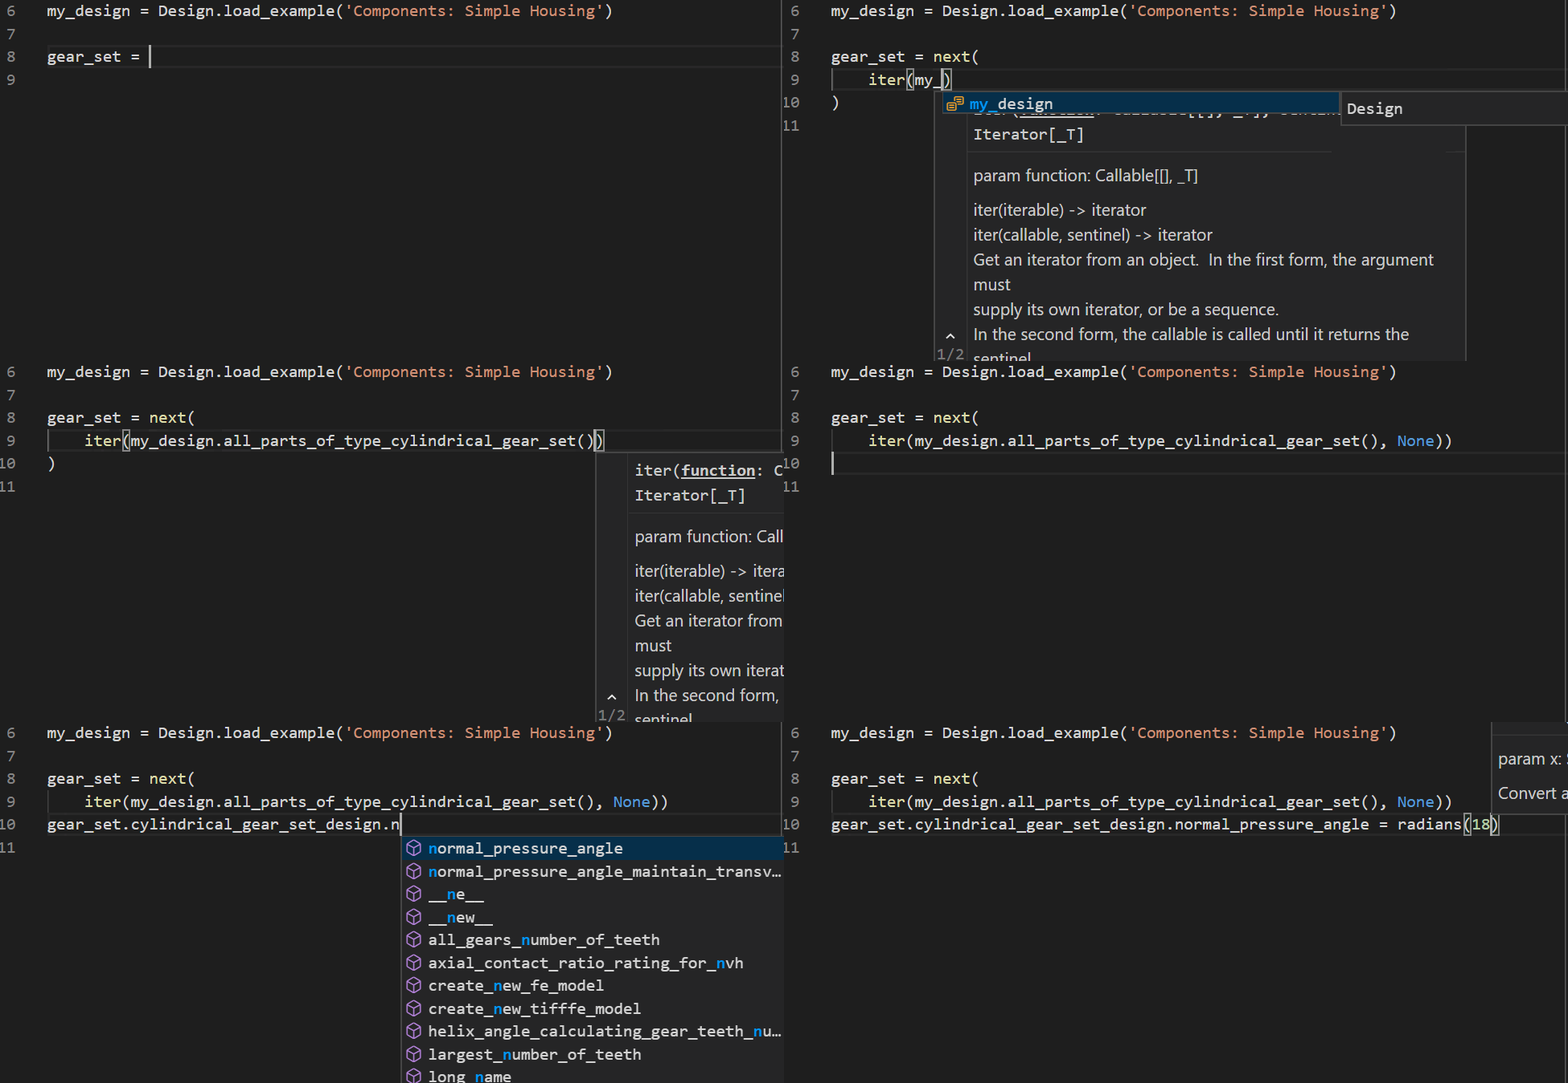
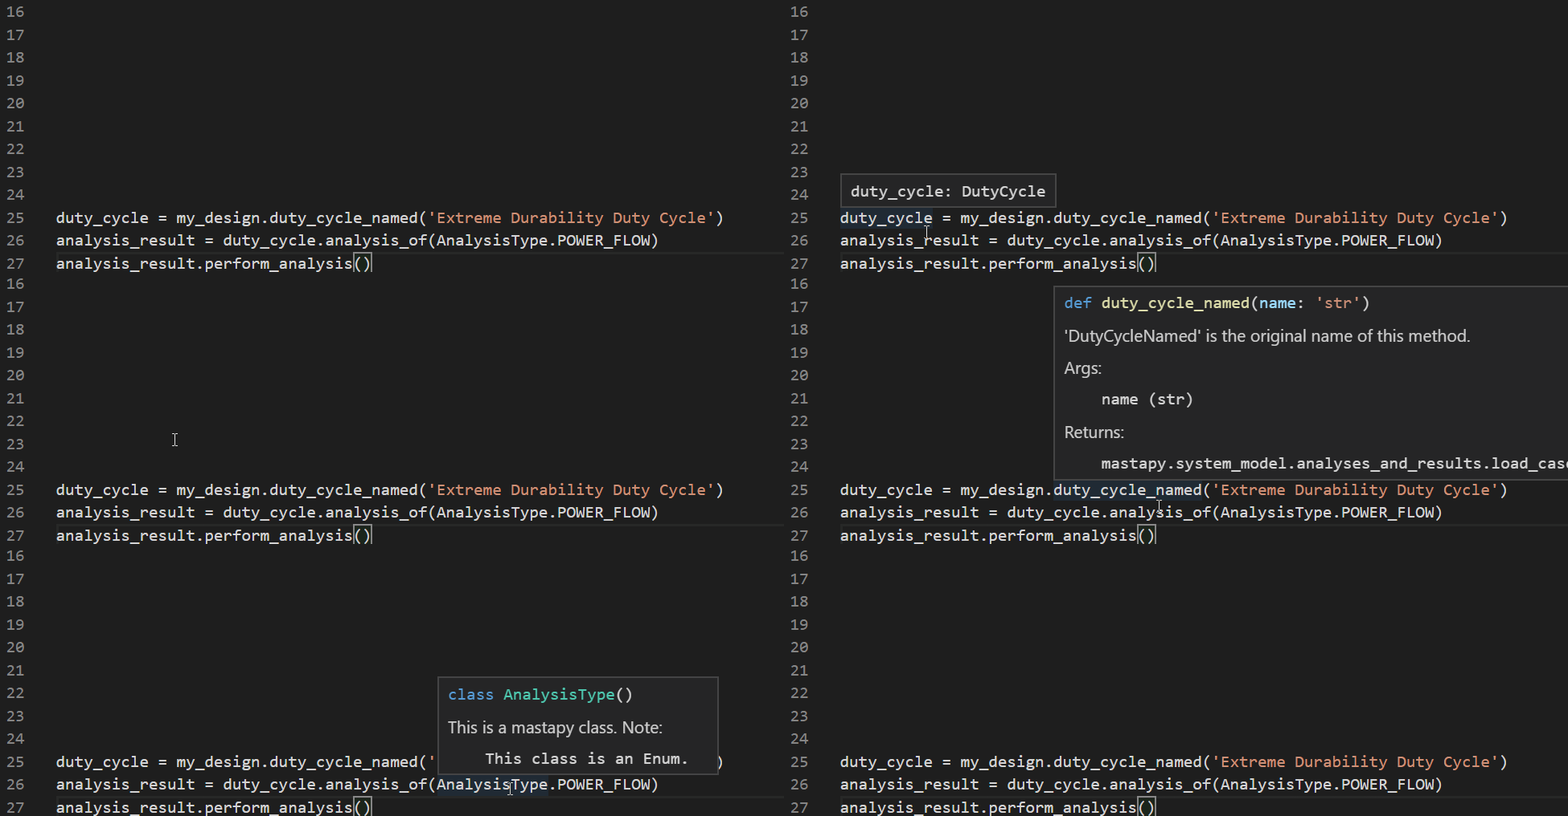
The biggest improvement made to mastapy is the full intellisense support. Intellisense was previously provided via the use of Python stubs but these were incomplete and temperamental. The new intellisense works consistently and is integrated into the mastapy package directly. The following animated GIFs demonstrate the new intellisense in various scenarios.
Intellisense allows you to quickly find methods or classes while importing. It shows you all of the possible options for each sub-package or module and will intelligently search through the options to find the one you want.

All objects have proper intellisense support now. This means you can find all properties and methods on any mastapy object with ease.

You can view the types and signatures of objects, methods and properties by hovering over them. Note that every method and property has documentation telling you the expected arguments and the full paths of all types. This can be useful if you need to know where to import certain types from (for instance, the AnalysisType enum in the following example.)

mastafile.py
A new feature unique to mastapy is the mastafile.py functionality. Any file called mastafile.py stored in the same directory as your Python scripts will be executed BEFORE any script is executed. This means mastafile.py is perfect for containing initialisation procedures, such as the mastapy.init call that has to be made before executing external scripts. This also means you only have to write the mastapy.init call once in the mastafile.py file and have it automatically executed for all of your scripts.
The following is an example mastafile.py file that initialises mastapy.
# mastafile.py

import mastapy


masta_api_dir = r'MY_MASTA_DIRECTORY'
mastapy.init(masta_api_dir)
MASTA Property Hooks
An advanced feature of mastafile.py is the ability to write pre/post MASTA property hooks. These are methods that are executed before or after a MASTA property is executed and can be used for repetitive, rudimentary setup or tear-down procedures. Note that the hooks also require one parameter for your MASTA object. However, the parameter does not have to be typed like in the following example.
Hooks can be chained! This means you can add multiple masta_before or masta_after decorators to your MASTA properties.
Add methods to be used as hooks to
mastafile.py.# mastafile.py import mastapy masta_api_dir = r'MY_MASTA_DIRECTORY' mastapy.init(masta_api_dir)Add additional
masta_beforeandmasta_afterdecorators to yourmasta_propertydecorated methods.from mastapy import masta_property, masta_before, masta_after from mastapy.system_model import Design
By executing the Hooks Test property from MASTA, you will get the following output in the MASTA scripting console:
Before!
Hello world!
After!
Pythonic Naming Conventions
All sub-packages, methods, properties and parameters use the snake_case naming convention instead of the PascalCase naming convention found in the C# API. This change was made to adhere to Python coding standards, as detailed in the PEP 8 Style Guide. This means all of your code using the mastapy package will look a lot more Pythonic.
Quality of Life Improvements
There have been a lot of small, quality of life improvements towards the various types found in the MASTA API for Python. The following lists a small number of these.
Properties with generic types such as
Overridable,EnumWithSelectedValueandListWithSelectedItemcan now be implicitly set and retrieved.# Before my_load_case.InputPowerLoad.Torque = Overridable[float](100.0) # After my_load_case.input_power_load.torque = 100All data structures such as lists and dictionaries now use proper Python data structures. This means all Python methods for interacting with or manipulating data structures will now fully work as expected.
# Before
num_points = my_shaft.ActiveDefinition.OuterProfile.Points.Count

# After
num_points = len(my_shaft.active_definition.outer_profile.points)
A new Python
Vector3Dclass was added tomastapyand replaces all use of vectors in the MASTA API. It can be used like a tuple and has a variety of additional operations available to it.from mastapy import Vector3D # You can create a vector in a few different ways my_vector = Vector3D(1.0, 2.0, 3.0) my_vector = Vector3D.broadcast(2.0) my_vector = Vector3D.from_tuple((1.0, 2.0, 3.0)) # All x, y and z components can be accessed x = my_vector.x y = my_vector.y z = my_vector.z # They can also be accessed by index x = my_vector[0] y = my_vector[1] z = my_vector[2] # Swizzling is supported xy = my_vector.xy zyx = my_vector.zyx yyy = my_vector.yyy # As Vector3D behaves like a tuple, you can use built-in methods for # manipulating sequences length = len(my_vector) maximum = max(my_vector) # You can perform mathematical operations on vectors added = my_vector + Vector3D(3.0, 2.0, 1.0) multiplied = my_vector * (4.0, 5.0, 6.0) # You can broadcast mathematical operations subtracted = my_vector - 1.0 divided = my_vector / 2.0 print('Original:', my_vector) print('ZYX swizzle:', zyx) print() print('Length:', length) print('Max:', maximum) print('Added:', added) print('Multiplied:', multiplied) print('Subtracted:', subtracted) print('Divided:', divided)Output:
Original: (1.0, 2.0, 3.0)
ZYX swizzle: (3.0, 2.0, 1.0)

Length: 3
Max: 3.0
Added: (4.0, 4.0, 4.0)
Multiplied: (4.0, 10.0, 18.0)
Subtracted: (0.0, 1.0, 2.0)
Divided: (0.5, 1.0, 1.5)
Many other conversions to Python types for complex numbers, images and more.
Full Legacy Support
To ensure any scripts written with mastapy 1.x still work, mastapy 2.x has full legacy support. You will not need to update any scripts to the new API.
Continue to the next article: Mastapy 2.x Examples.