Mastapy Features
This article is an explanation of some of the features of mastapy that are present in version 13.0.
Full Intellisense Support
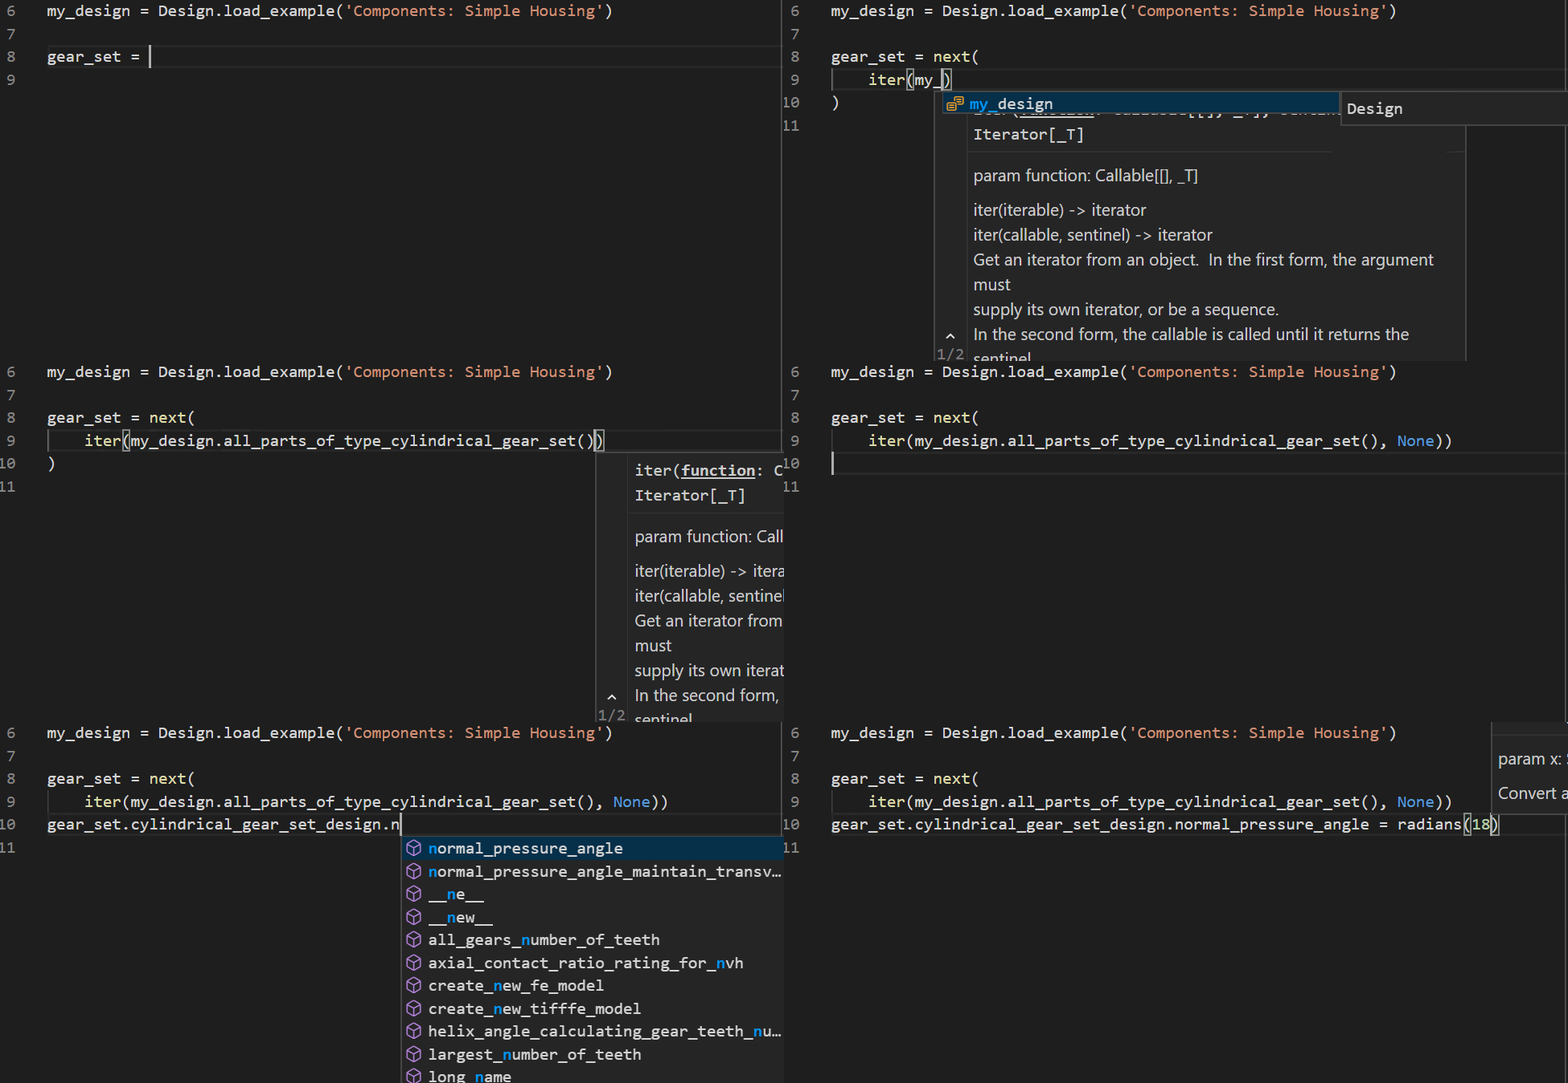
The mastapy package makes great use of type hints throughout the package allowing for comprehensive support of third-party tools such as intellisense, type checkers and linters.
The following animated GIFs demonstrate the new intellisense in various scenarios.
Intellisense allows you to quickly find methods or classes while importing. It shows you all of the possible options for each sub-package or module and will intelligently search through the options to find the one you want.

All mastapy objects have proper intellisense support. This means you can find all properties and methods on any mastapy object with ease.

You can view the types and signatures of objects, methods and properties by hovering over them.

Every method and property has documentation telling you the expected arguments and the full paths of all types. This can be useful if you need to know where to import certain types from (for instance, the AnalysisType enum in the above example.)
MASTA_DIRECTORY Environment Variable
To use mastapy for external scripts, the MASTA API must be initialised. The simplest way of doing this is by using the mastapy.init method as described in Using Python with MASTA. Calling this method can become tedious for every Python script, so a potentially better way is to set the MASTA_DIRECTORY environment variable to your MASTA directory instead. If the MASTA_DIRECTORY environment variable is set the MASTA API will be automatically initialised when mastapy is imported.
Setting MASTA_DIRECTORY in the Visual Studio Code Debug Launch Configuration
If you do not have the privileges to modify your environment variables you could also set the MASTA_DIRECTORY environment variable in your Visual Studio Code debug launch configuration. The following is an example launch configuration with it set:
{
    "version": "0.2.0",
    "configurations": [
        {
            "name": "Python: Current File",
            "type": "python",
            "request": "launch",
            "program": "${file}",
            "console": "integratedTerminal",
            "justMyCode": true,
            "env": {
                "MASTA_DIRECTORY": "C:\\Program Files\\SMT\\MASTA 13.0 RLM x64"
            }
        }
    ]
}
mastafile.py
Any file called mastafile.py stored in the same directory as your Python scripts will be executed BEFORE any script is executed. This means mastafile.py can be used for any common setup procedures, such as initialising the MASTA API with mastapy.init. This also means you only have to write the mastapy.init call once in the mastafile.py file and have it automatically executed for all of your scripts.
If all you require is the initialisation of the MASTA API, then using the MASTA_DIRECTORY environment variable might be a better option.
The following is an example mastafile.py file that initialises mastapy.
# mastafile.py
import mastapy


mastapy.init('MY_MASTA_DIRECTORY')
MASTA Property Hooks
An advanced feature of mastafile.py is the ability to write pre/post MASTA property hooks. These are methods that are executed before or after a MASTA property is executed and can be used for repetitive, rudimentary setup or tear-down procedures. Note that the hooks also require one parameter for your MASTA object. However, the parameter does not have to be typed like in the following example.
Hooks can be chained! This means you can add multiple masta_before or masta_after decorators to your MASTA properties.
Add methods to be used as hooks to
mastafile.py.# mastafile.py import mastapy masta_api_dir = r'MY_MASTA_DIRECTORY' mastapy.init(masta_api_dir) def pre_hook(design): print('Before!') def post_hook(design): print('After!')Add additional
masta_beforeandmasta_afterdecorators to yourmasta_propertydecorated methods.from mastapy import masta_property, masta_before, masta_after from mastapy.system_model import Design @masta_before('pre_hook') @masta_after('post_hook') @masta_property(name='Hooks Test') def my_masta_property(design: Design): print('Hello world!')
By executing the Hooks Test property from MASTA, you will get the following output in the MASTA scripting console:
Before!
Hello world!
After!
Pythonic Naming Conventions
All sub-packages, methods, properties and parameters use the snake_case naming convention instead of the PascalCase naming convention found in the C# API. This change was made to adhere to Python coding standards, as detailed in the PEP 8 Style Guide. This means all of your code using the mastapy package will look a lot more Pythonic.
Full Legacy Support
Python scripts written against older versions of the MASTA API will still work in newer versions of MASTA. To use our legacy support feature, ensure the mastapy package you are using matches the version of the MASTA API you want to use. For instance, if you wrote your script against MASTA 12.0, you can use mastapy 12.0 with a newer version of MASTA to maintain compatibility.